How To Edit A Zoom Recording
After you’ve held your fantastic Zoom meeting, you will want to have the recording to play it over and over again and catch those beautiful moments. It could be a meeting where you sealed your best business deal, or maybe you just need the recording for recall purposes; you can edit the Zoom recording and have it to your taste. In this post, we teach you how to achieve this.
Edit a Zoom Recording on iMovie
The steps below will help you edit your Zoom recording on iMovie.
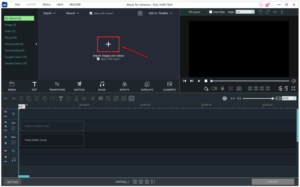
1. Launch the iMovie app and click the + button. Select Movie from the options.
2. Click Import which you’ll see at the top of the screen. Select the zoom meeting you want edited.
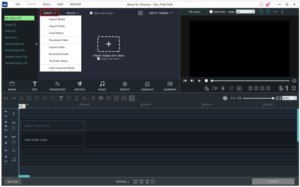
3. Choose the recording and select Import Selected.
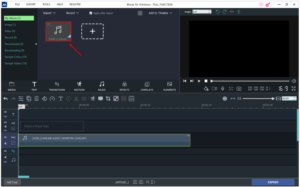
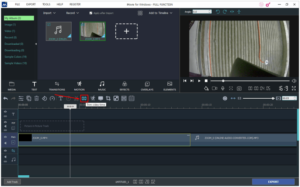
4. Move the recording into the project timeline section for the editing functions to work.
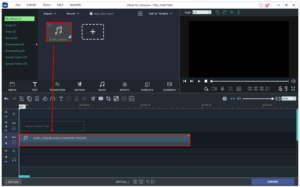
5. To trim your recording, drag the start and end point to wherever you want.
6. You can also use themes and put titles and transitions. Use themes by clicking Settings present in the top-right section of your project timeline and clicking Themes. Browse the themes available and choose one, and click Change.
7. You can also add filters to the recording by navigating to Settings, choosing Filter, and then selecting the filter you want.
8. When all is done, click the Share option, and select File.
9. Adjust the various parameters there such as compression type, quality, resolution, format, and title.
10. When you’re done, click Next and then choose a saving location. Finally, click Save.
The recording will appear in the location you saved it.
Edit a Zoom Recording in the Cloud
Follow the steps below to edit recordings on the Cloud.
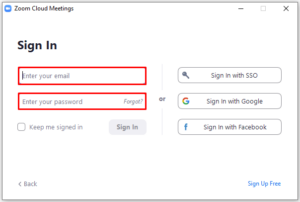
1. Sign in to your Zoom account.
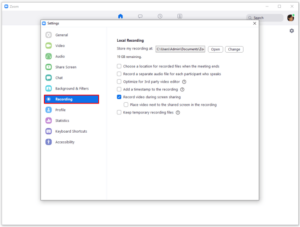
2. Click Settings.
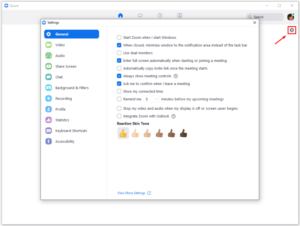
3. Find Recordings on the left of the screen and select Recordings.
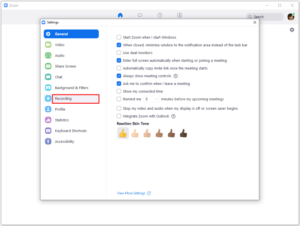
4. Click Cloud Recordings.
Choose from your recordings the one you wish to edit. After that, trim the recording with the slider to do away with parts you don’t want.
When you’re done, the recording will be saved to Zoom Cloud.
Edit a Zoom Recording in Audacity
Here’s how to edit a Zoom recording in Audacity.
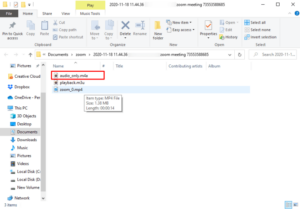
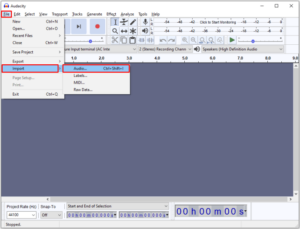
1. Locate the recording you wish to edit. Import the recording by navigating to File > Import > Audio.
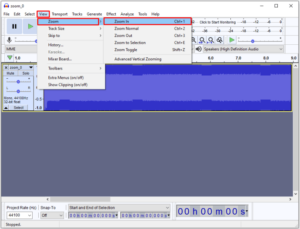
2. Editing can now start. Access the trimming function by navigating to the Transport Toolbar section and then clicking Skip to Start.
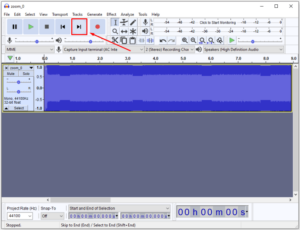
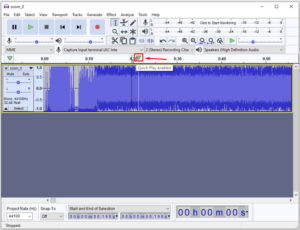
3. Continue clicking the Zoom in button. This will cause the waveform to expand so you can see where voice was first captured.
4. With the SelectionPointer.png tool, pick out the exact position when talking began.
5. Go to Select, then Region and finally Track Start to Cursor. This gets the part of the video before you started talking, selected.
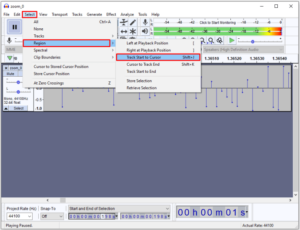
6. Click Edit and then select the Delete option. The selected audio will be deleted and the parts not selected will move left.

You can also do same for the ending part of the audio and also for any part of your recording which has mistakes.
After you are through with editing, save your project by navigating to the File section, then clicking Save Project. Give your project a name and choose the location where you want it saved.
This causes the recording to be saved in Audacity. You can export the recording to use it anywhere else; do this by selecting File > Export > Export Audio.
You can also check out
How to Enable Dark Mode on Telegram
How to Download Music from Spotify
Best Keyboard Apps for Android
Top 5 Best Web Browsers for Android
Top 5 Best Music Player Apps for Android
Top 5 Best Alarm Clock Apps for Android
Top 5 Best eBook Reader Apps for iPhone and iPad
Top 4 Best VPN Apps for iPhone and iPad
Top 5 Best Apps for Monitoring Data on iPhone and iPad
Top 5 Best Translation Apps for iPhone and iPad
Top 5 Best Alarm Apps for iPhone and iPad
Top 5 Best Calendar Apps for iPhone and iPad
Top 5 Best Photo Editing Apps for iPhone and iPad
Hope with this, you have learnt How To Edit A Zoom Recording.
Please share and like below, also comment below for any problem faced or encountered.