How to create Multiboot USB Drive Make your Removable Disk, Flash Drive, Memory Card Bootable with both Windows, Linux (Ubuntu etc.) OS, Live CD and Utilities.
This tutorial will guide you on How to create Multiboot USB Drive. Please follow the step listed to learn how to create multibook USB drive.
1) Download Novicorp WinToFlash Lite.
2) Install Novicorp WinToFlash Lite. Check Tutorial on How to Install Novicorp WinToFlash.
3) Launch Novicorp WinToFlash Lite.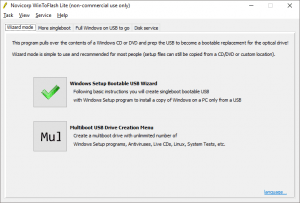
4) Click on Multiboot USB Drive Creation Menu.
5) Click on Add, to add Windows Setup and Linux setups.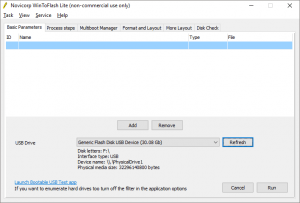
6) A window will appear, Add New Item.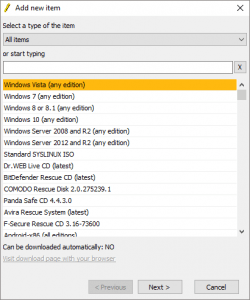
7) In the Select item type, you could select the type of OS, antiviruses (Standard loader, Windows, Antivirus, Linux, Utility live CD/USB, Android). In here I want to add Ubuntu, so I will Select Linux.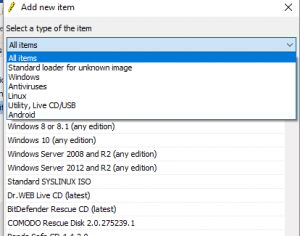
8) On the or start typing, you could search for what you intend to add, so here I will search for Ubuntu, then you could select it down (I selected Ubuntu Desktop 16.04.2 LTS 64 bit).
9) Then Click on Next.
10) If you have the .ISO image file, Check Select the disk image manually, if you do not have and you want to download and save to a location of your choice, check download, but set a folder to save the disk image manually, but if you want to download and or use Cache copy, select Download and cache, or use cached copy from your hard drive.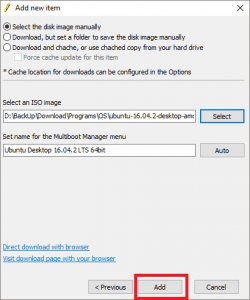
11) But here I have the ISO image, so I checked Select the disk image manually.
12) On Select an ISO Image, Click on Select and navigate to the location of what you want to add and then click on Open.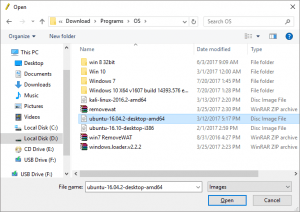
13) Then You click on Add.
14) After adding all the OS or file you wish to create multiboot, then click on Run (Remember, with the free version, You can only multiboot a maximum of two OS, Live CD or Utility).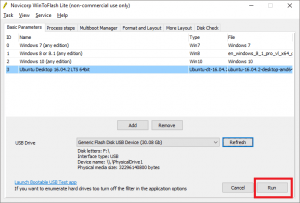
15) A Format warning will appear, Click on Continue.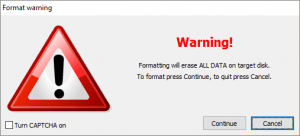
16) And Immediately, it will start writing to Disk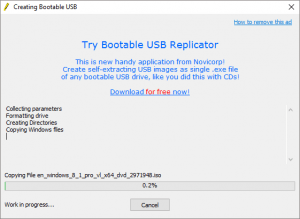
Hope You have learnt how to create Multiboot USB Drive.
Please share and like below. Also comment below for any problem encountered. Thanks
I encountered file lager than 4Gb while I have space more than 4Gb.
Have tried format it to the required solution by the software ( NTFS) but till the same.
Kindly put me through…..am using navicorp wintoflash lite(non-commercial) I
To format to NTFS, You need to have the professional version.
Please check out this tutorial using Rufus https://aboutdevice.com/create-bootable-usb-using-rufus/