How to Change the Proxy Settings of UC Browser
The processes listed below will guide you on How to Change the Proxy Settings of UC Browser:
1) Launch the UC Browser.
2) On the top right hand corner, click on the three horizontal line symbol and then click on Settings.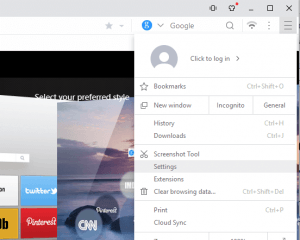
3) On the Left hand tab, click on Other.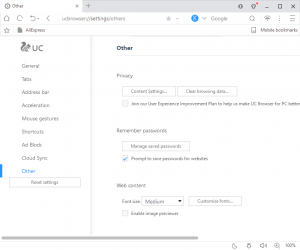
4) Scroll down to Network, Click on Change Proxy settings.
5) A new Window, Internet Properties will open
6) To Change the proxy settings for a LAN Network, Click on LAN Settings, select use proxy server for LAN
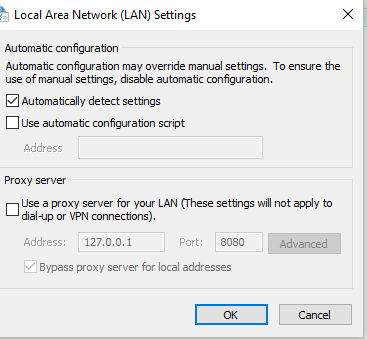
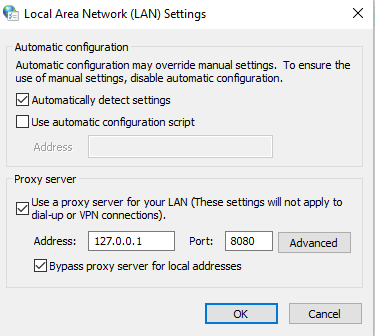
7) Enter the IP address and Port Number, Click on Ok
8) To Change the proxy settings for a Dial Up or Virtual Private Network (VPN), Select the VPN or Dial Name in the Box or Add it and Click Settings.
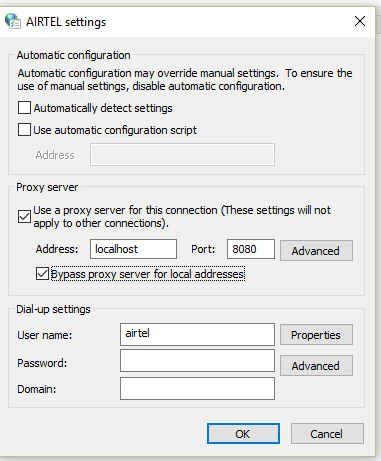
9) Select use proxy server for this connection.
10) Enter the IP address and Port Number, enter username and password, if available and Click on Ok
Hope this has assisted in the configuration of network setting or proxy settings of UC Browser.
Please share and like below, Also comment below for any problem encountered.