How to install font in Windows for Microsoft Word, Excel, Access, Adobe Premiere, After Effects, Corel Draw, Autodesk Products and on Your Computer System.
The steps listed below will guide you on How to install font in Windows for Microsoft Word, Excel, Access, Adobe Premiere, After Effects, Corel Draw, Autodesk Products and on Your Computer System.
1) Go to the website to get the font. We advise Dafont, you will get cool font.
2) Download the font
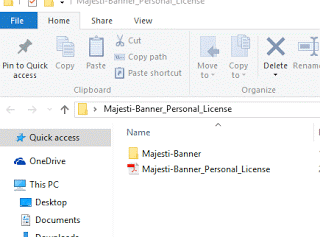
3) Open the file location, Extract the font using any unzipping program like WinRAR, 7zip, WinZip and other unzipping programs available.
4) Here I have download Majesti font and have extracted it.

5) The font always comes with a license most especially when downloaded from dafont.
6) Open the main font folder, the font I am going to install my Computer system is an OpenType font file.
7) You will double click on the file and a window will open. The Font name will appear, font version will appear and the font type also will be seen.
8) You could click on print to print the font to see how it will look like, or You could click on install to the font on Your Computer System
9) A window will pop up and the font is installed and can be used on all program. For example Microsoft Office, Windows, Adobe Premiere, After Effects, Corel Draw, Autodesk Product.
10) You can use it on all program immediately you search or check with the font name on
the program.
11) For example on Microsoft word, this is the Majesti that I installed.
Hope with this you have learnt how to install fonts in Windows for Microsoft Word, Excel, Access, Adobe Premiere, After Effects, Corel Draw, Autodesk Products and on Your Computer System.
Please share and like below. Also comment below for any problem faced or encountered.