


Docs is Google’s word processing software and it has been a go-to solution for those who need to format their documents. The cloud software boasts of many great tools that makes it really useful.
Perhaps, you have a document and you want to highlight some parts of it so that it standout, you can add a text box. There are various ways of adding textbox to document. In this guide, I’ll show you how:
Add a Text Box Using the Drawing Tool
You can create a text box with the drawing tool. With the drawing tool, you can create shapes, lines and add colors. You can customise shapes also with the tool.
It is quite simple to insert a text box using this tool. Here’s how:
1. Open the document which you want to insert the text box into.
2. Navigate to the top menu, and click “Insert”.

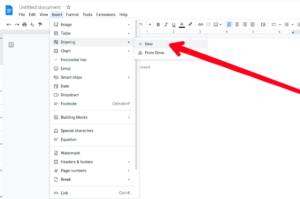
3. Next, click “Drawing”.
4. Next click “New” to begin drawing a text box.
5. You’ll see a new window where you can draw the text box.
You’ll see various commands to use to create, edit and tweak your drawings. Below are tools you can use within the drawing window.
Basic Text Box
If you need a simple text box to insert your text, you can make use of the basic text box. The steps below will help you create a simple box.
1. Click the “Text box” icon within the toolbar.


2. Next, draw a box by dragging the tool across the space for drawing.
3. Now, put some text inside the box.

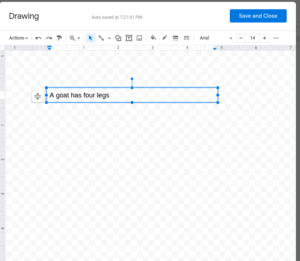
4. Once you’ve done that, hit the “Save and Close” button at the top right corner.


Using Shapes to Create a Text Box
With the Shapes feature, you can work with various shapes like squares, rectangles, and more. You can even add colours fo the textbox to customise it.
Follow the steps below to achieve this:
1. Open the “Drawing” window.
2. Select the Shape icon

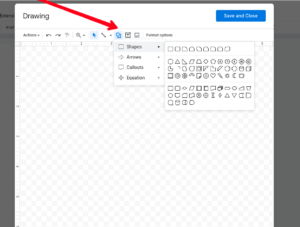
3. You’ll then see a drop-down menu. Select “Shapes” to use the tool.
4. Choose the shape you wish to add.
5. Now, drag your mouse over the drawing area to draw the shape

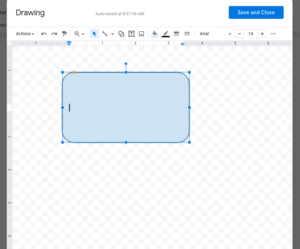
6. Now, your can add text to the shape by double-clicking anywhere on the shape.
7. After that, hit “Save & Close”.
You can also resize the shapes you create. To do this, click on the blue anchor, and drag according to how you want to resize the shape.
Create a Text Box via Single Cell Table
You can also use the Table tool to add a text box to your Google Docs file. You can use the table tool to create a single-cell table that has just one column, and row. This is a way to a create a plain text box where you can add text. Here’s how:
1. At the top menu, click the “Insert” button and then “Table”.

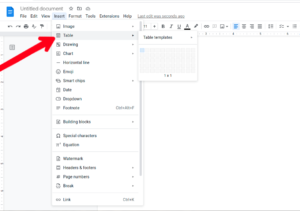
2. Now, select a single cell by clicking the 1×1 square.
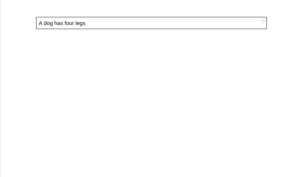
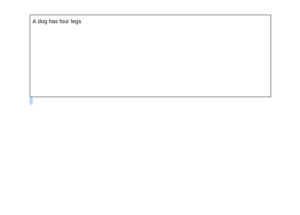
3. Now, you can adjust the width and length of the cell to whatever size you want.
4. Next, insert the text into the cell.

5. You can then customise the cell by tweaking its size and style.

Rounding Up…
You don’t have to only be stuck with one method to have a text box in your Google Docs document. Google Docs has these varieties of ways to create a textbox. We hope you found this guide helpful? If you did, kindly leave a comment and don’t forget to share…