


All UC Browser Settings
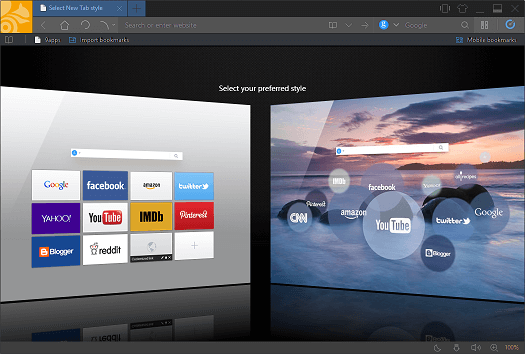
This tutorial will guide through all UC Browser Settings and tips to easily setup UC Browser.
How to change the default search engine of UC Browser
1) Launch the UC Browser.
2) on the top right hand corner, click on the three horizontal line logo, then click on Settings.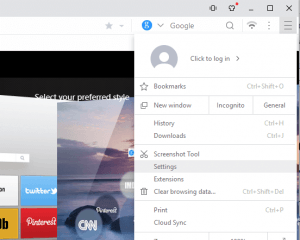
3) On the Generals tab of the UC browser settings, scroll down to Search engines, click on the drop down and select the default search engine you want. (Google, Bing, Yahoo, AOL, ASK).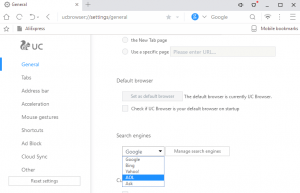


Clear Cookies, History, Cache and Browsing Data in UC Browser
Using Keyboard Shortcut
1) Press Ctrl + Shift+ Delete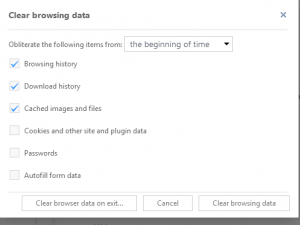
2) Select what you want to clear and then click on Clear Browsing Data.

Using the Settings Window
1) Launch the UC Browser.
2) On the top right hand corner, click on the three horizontal line symbol and then click on Settings.
3) On the Left hand tab, click on Other.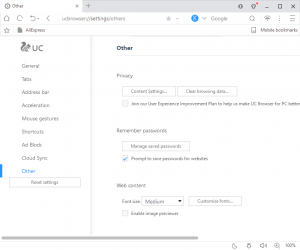
4) on the right hand tab, you will see Privacy and then Clear Browsing Data, Click on Clear Browsing Data.
5) Select what you want to clear and then click on Clear Browsing Data.

How to disable notifications in UC Browser
UC Browser has three options for notification
i) Allow all sites to show notifications.(All websites can show notifications)
ii) Ask when a site wants to show notifications (choose when a websites is allowed to show notifications)
iii) Do not allow any site to show notifications(All websites are disabled from showing notifications)
To disable notification from any site. Please follow the instruction listed below:
1) Launch the UC Browser browser.
2) Go the top left hand corner, Click on the UC Brower logo and then click on Settings.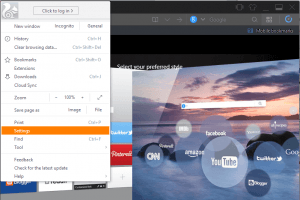
3) The Settings Window will be showed.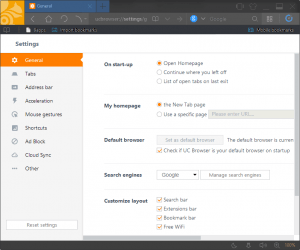
4) On the left hand side of settings page, click on Other.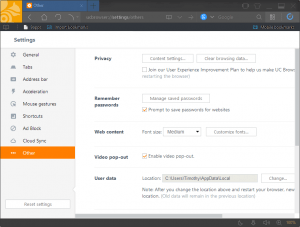
5) On the other settings window, you will see the privacy tab, click on Content settings.
6) The content settings window will be shown,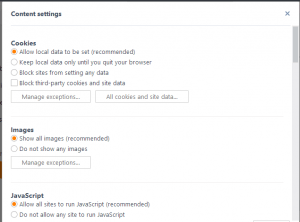
7) Scroll down to Notifications, then check do not allow any site to show notifications, then click on Done.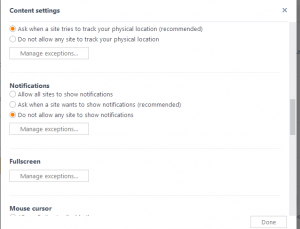


How to Change the Proxy Settings of UC Browser
1) Launch the UC Browser.
2) On the top right hand corner, click on the three horizontal line symbol and then click on Settings.
3) On the Left hand tab, click on Other.
4) Scroll down to Network, Click on Change Proxy settings.
5) A new Window, Internet Properties will open
6) To Change the proxy settings for a LAN Network, Click on LAN Settings, select use proxy server for LAN


7) Enter the IP address and Port Number, Click on Ok
8) To Change the proxy settings for a Dial Up or Virtual Private Network (VPN), Select the VPN or Dial Name in the Box or Add it and Click Settings.

9) Select use proxy server for this connection.
10) Enter the IP address and Port Number, enter username and password, if available and Click on Ok
Set IDM as default download manager on UC Browser
1) Launch the UC Browser.
2) On the top right hand corner, click on the three horizontal line symbol and then click on Extensions.
3) The UC Browser Extension Window window will open, Check “Developer Mode”.
4) Now navigate to your installation drive, usually C drive, then navigate to Program Files (x86), then go the Internet Download Manager Folder (Usually C:\Program Files (x86)\Internet Download Manager)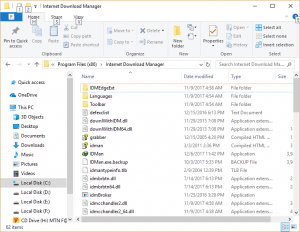
5)You will scroll down and you will see a file name IDMGCExt.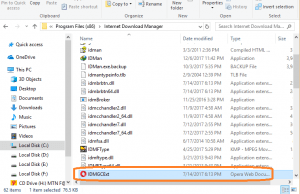
6) Drag the file, IDMGCExt into the UCBrowser Extension window (You can split your screen into two in order to perform the drag effectively using Window + Right or Left Key)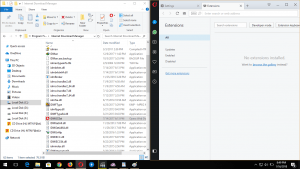
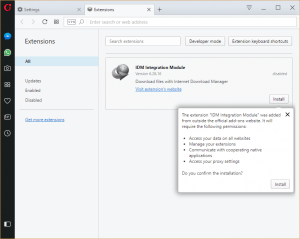
7)After dragging the file to UC Browser Extension Window, Click on Install (in order to install the extension)
8) It will bring out a warning, Accept the warning and Click on Install, immediately Internet Download manager will be installed on UC Brower.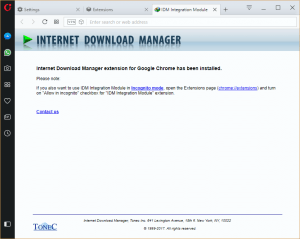


OR
9) On the UC Browser Extension Window, Click on Load Unpacked Extension, then go the location IDM on Your computer system and thus you select the IDMGCExt and then install the extension and enable it.
Hope with this, You have learnt how to properly set up UC Browser. Thanks